Ever tried to relax in a hot shower, eagerly awaiting the warm, soothing feeling of warm running water? But alas, you were only greeted with a freezing stream of ice-cold water! It’s all happened to the best of us. Blown-out pilot lights on water heaters are common in the plumbing industry. But how exactly does this happen? Well, one common reason is that a draft may have passed. In addition, if the room is poorly insulated or has doors or windows left agape, these can lead to snuffed-out pilot lights.
Another reason could be system-related issues like a malfunctioning or clogged thermocouple. The thermocouple is the small sensor that detects whether the pilot light is lit. If the thermocouple becomes clogged or dirty, it may start to malfunction. But regardless of the reason, you are now stuck with a blown-out pilot light that needs to be relit. So, here is a simplified instructional guide to relighting your water heater’s pilot light from yours truly – New Albany Plumbing & Drain.
HOW DO YOU RELIGHT YOUR WATER HEATER’S PILOT LIGHT?
- To start, locate the access panel on the side of your water heater. It’s normally attached with just a few screws or latches, so carefully remove it and set it aside while you work. After removing the access panel, you’ll be able to see the electronic ignition system and gas control valve.
- Before you relight the pilot light, make sure to turn off the gas supply by turning the gas control valve to “off.” It’s also of utmost importance for safety purposes that you wait 5-10 minutes so any previously built-up gas has time to dissipate. Be careful not to overlook this step!
- Your next objective is to find the control panel. It’s the section with a knob-like switch and has all the settings and buttons. Take some time to observe this area of your device, familiarizing yourself with the “reset” or “ignition” switches.
- Next, set the gas control valve to “pilot.”
- To get started, press and keep the knob pressed. It’s worth noting that certain water heaters have knobs on the control panel, which double as buttons, meaning you can press it inwards if your model is set up like this.
- Whilst pressing down on the knob, push the small black square beneath it. (Depending on your water heater model, buttons may differ a bit.) All you need is one click to ignite the pilot flame. However, if that doesn’t work, go ahead and try clicking it one more time. Typically, it will spark after two clicks. Remember: it’s essential to keep holding “pilot” mode during this process!
- Once the indicator light turns on, you can finally let go of the “pilot” button/knob.
- Then make your preferences personal by ensuring the temperature settings are tailored to your desires.
- Ensure that you twist the gas supply valve back on to resume normal usage.
- Lastly, ensure that the access panel is returned to its original spot and that all screws or latches have been firmly fastened.
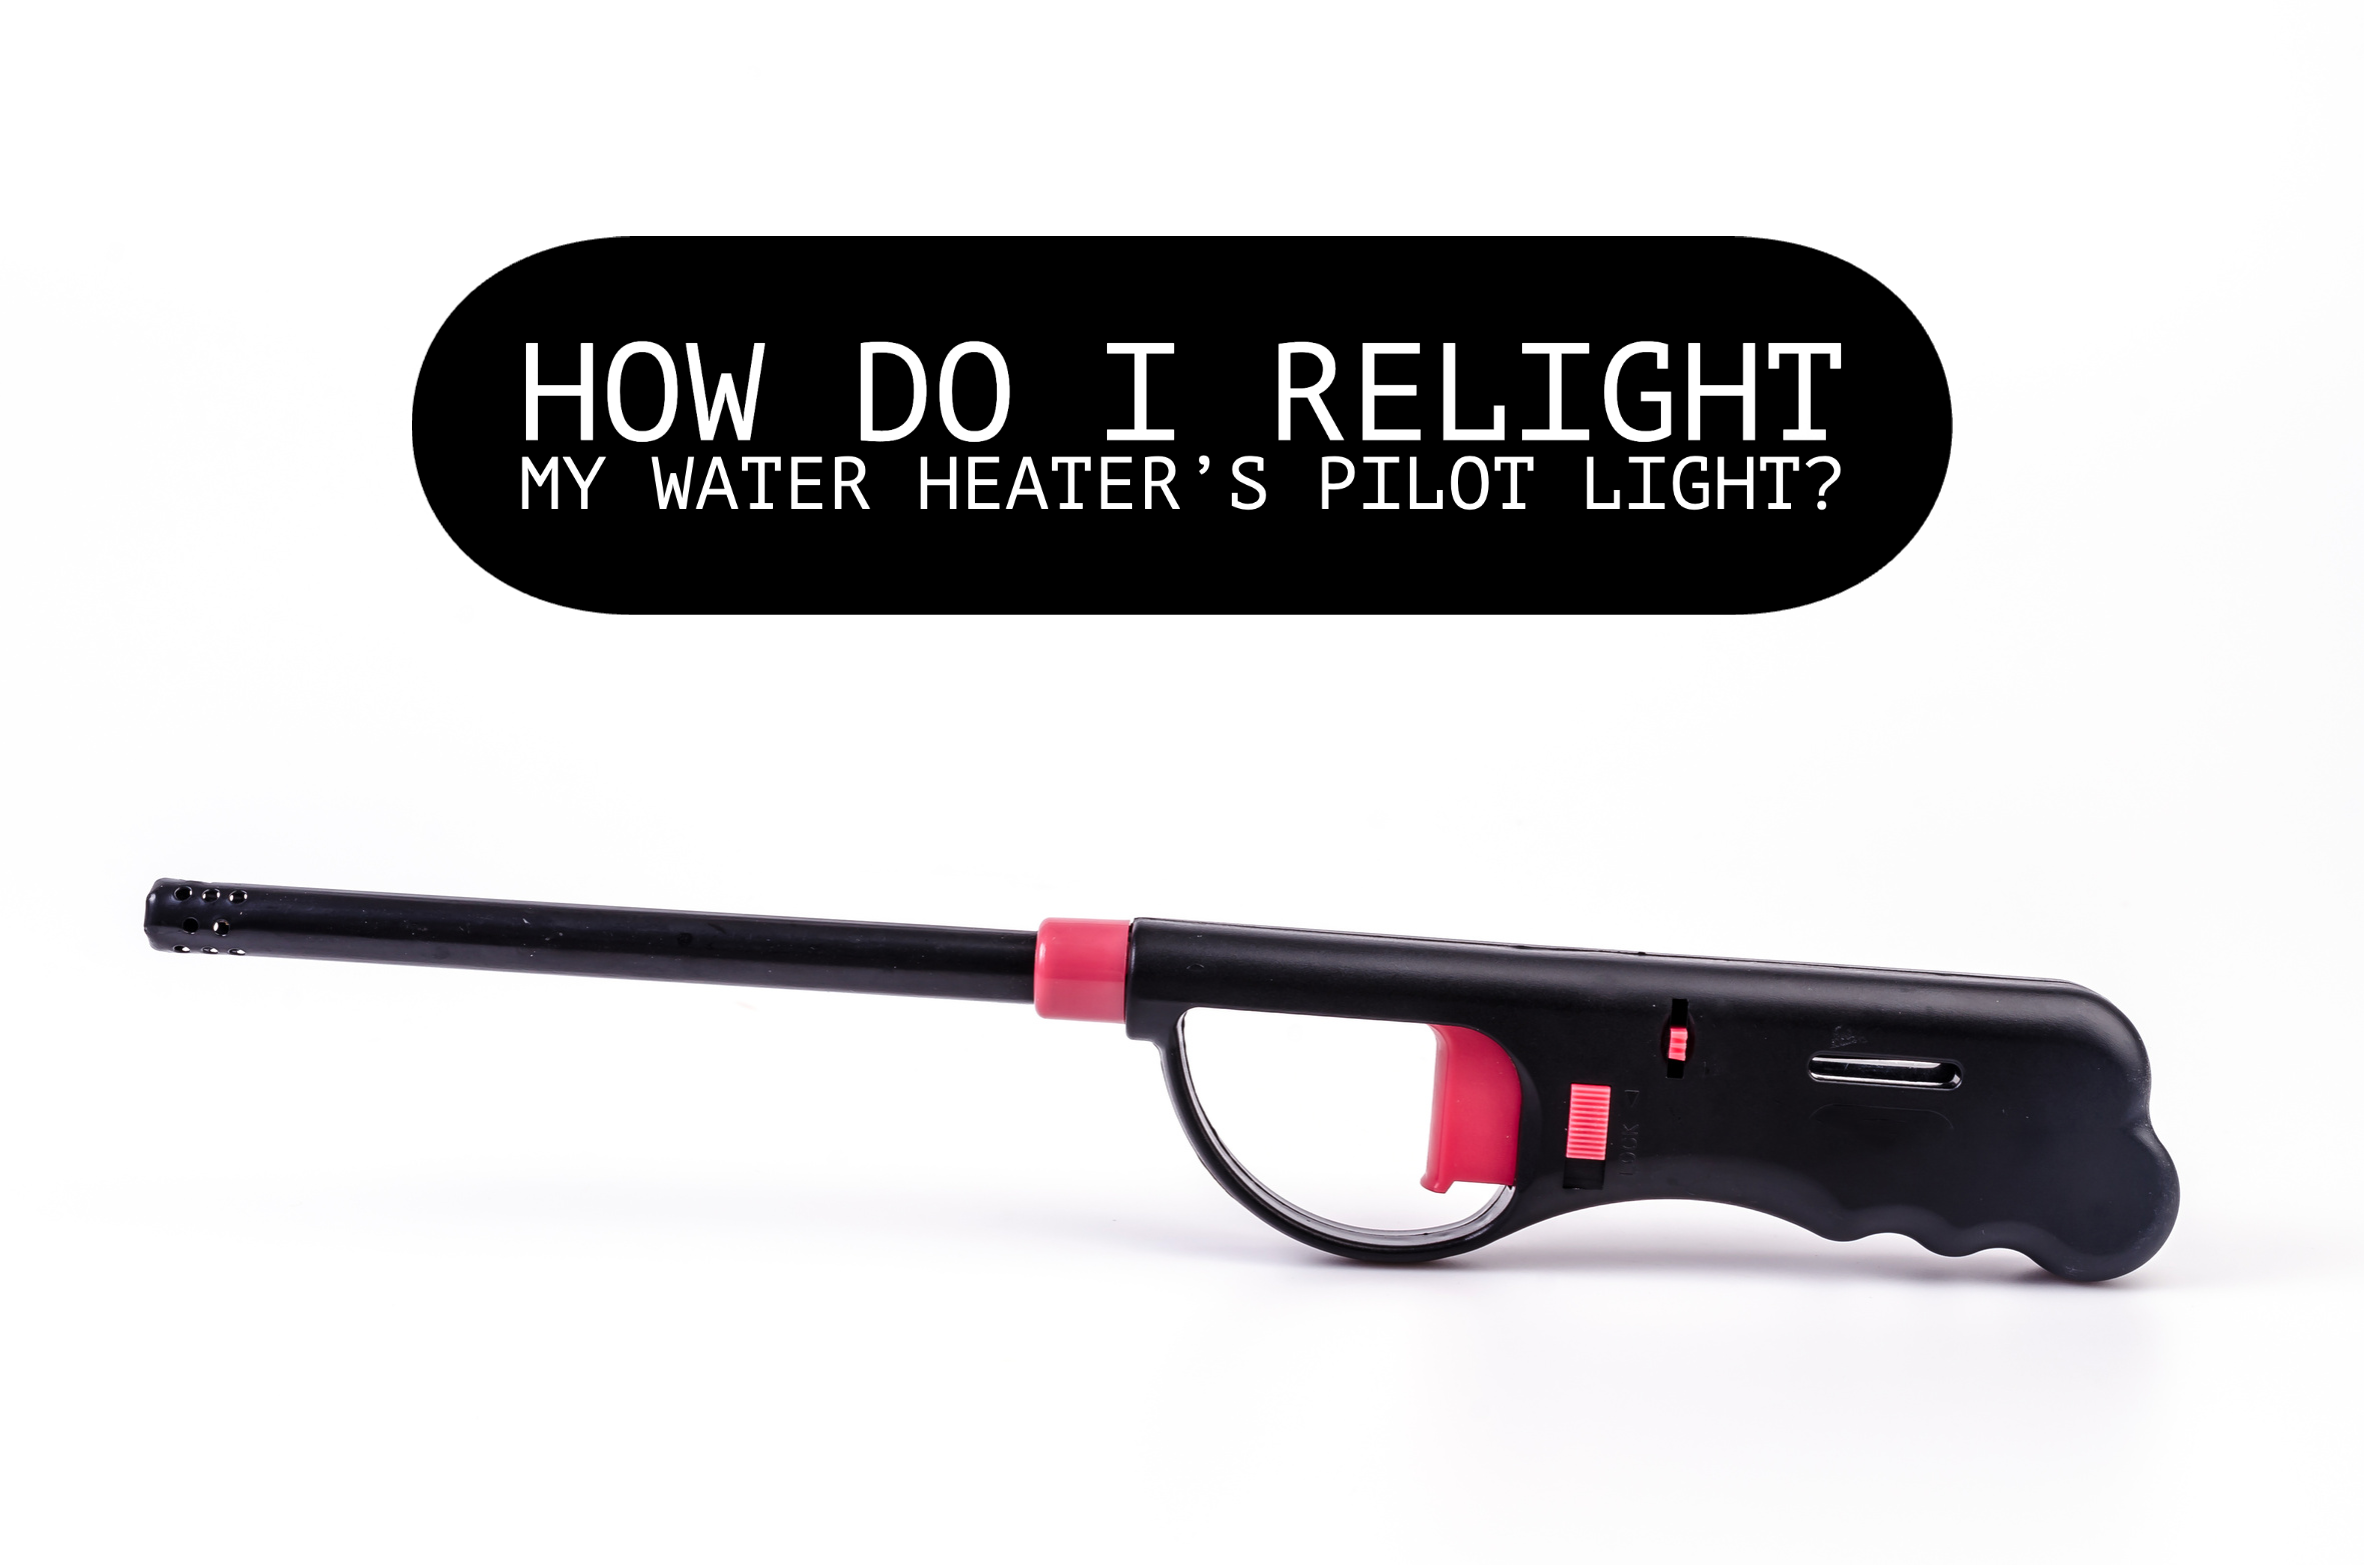
When considering gas water heaters, it’s important to remember that those equipped with electronic ignition systems may still feature an auxiliary pilot light should the electric system become inoperable. It is useful to be aware that you can manually ignite the burner using a match or lighter and activate the reserve pilot light if needed.
Be sure to follow these instructions step-by-step, as they are pretty important. Though relighting a pilot light isn’t overly complicated, it does require each step to be followed accordingly. When proper protocol is practiced, safety measures are reinforced, and you can once again feel comfortable in the coziness of your own home, enjoying the pleasantries that warm water can bring.
Don’t hesitate to call New Albany Plumbing & Drain for any of your plumbing needs. We would be thrilled to serve you and your family! So, call today at (614) 245-3319, or schedule an appointment online now by clicking here!


